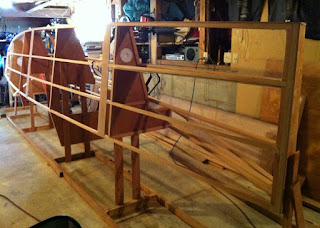
Finally I get to start closing in the hull. One last look before it gets covered. This pic really shows the shape of the boat very well. I have found two new things that are taking up more building time, staring and daydreaming :)
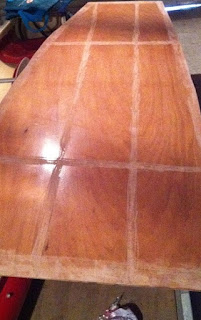
I have prepared one side of the plywood sheets by coating with epoxy, sanding and coating them again. This gives a very nice smooth clear finish to what will be the interior of the boat.
You can see in this picture I am lining up the second sheet on the outside of the port hull. I am using a car scissor jack to have good control over the location of the sheet to butt it against the first sheet. Once in place, I put a few screws in and then use a pencil to mark the location of stringers and framing on the interior side of the sheet. Then I remove the sheet to prepare it for mounting.
Using the pencil lines as a guide, I cut out the shape (slightly oversize to allow for trimming), drill the holes for the screws and sand where the stringers and framing will be.
Then I apply epoxy to the sanded areas and to the framing/stringers then thickened epoxy glue over the top, then screw in place with a lot of screws and tidy up the squeezed out glue. Then the next day I remove the screws and get ready for the next sheet.

