Thursday, 15 September 2011

Making Stringers


I have a bit of a production line going for stringers. Three stages of production here are, cutting, gluing and "Thicknessing".

Once the scarf joints are glued I then plane the lengths down to size with a thicknesser, the planing really transforms the wood into a much nicer finish and looks great. Here is a close view of some finished  stringers with a scarf joint visible on one of them.


I am about half way through making all the lengths required for the boat.

Wednesday, 31 August 2011

Scarphing

I have started lengthening some of the stringer wood as all the lengths are around 5 metres, there are 7 full length stringers @ 6.5 metres per hull and then a further 3 per hull which stop at the aft end of the bunks @ 5.7 metres. I am adding 300mm to the stringers to allow for curves and clamping which may be required, so a total of 20, long pieces of wood need to be made.
Here is the basic method I am using to do the joints. Clamping 2 pieces together and cutting, then planing them on the same angle. Then the two paired pieces are glued together with epoxy glue being carefull to get them exactly straight. It is a fairly slow process but quite fun also.

Monday, 22 August 2011

Wood

I have been preparing wood for stringers. The wood is douglas fir and what you see here should be enough for the whole boat.

With another person helping it took a couple of hours to rip down from larger stock using a table saw. These lengths are a bit over 5 metres and will need scarphing to get the required 6.5 metre lengths and also planing. My garage now has a nice smell to it with all the freshly cut timber!

Monday, 15 August 2011

Rudders ready for paint.

Here are the rudders. Just about there. The photo angle is deceptive but the rudders really are exactly the same size!


I will probably leave painting them until I have the first hull ready for painting and do them at the same time. Meanwhile the rudders will be used as molds for the rudder housings which are next on my, to do list

Saturday, 6 August 2011

Rudders Part3

So the temperature finally got above 15 deg C so I could do some fibreglass sheathing.

I had shaped and sanded both rudders. But was unsure as to how exactly I could cover both sides at the same time, as I really did not want to do any overlapping seams or extra fairing so I used some screw hooks and hung the rudder from the ceiling as seen in the picture. I also used a 500W light to keep it warm.


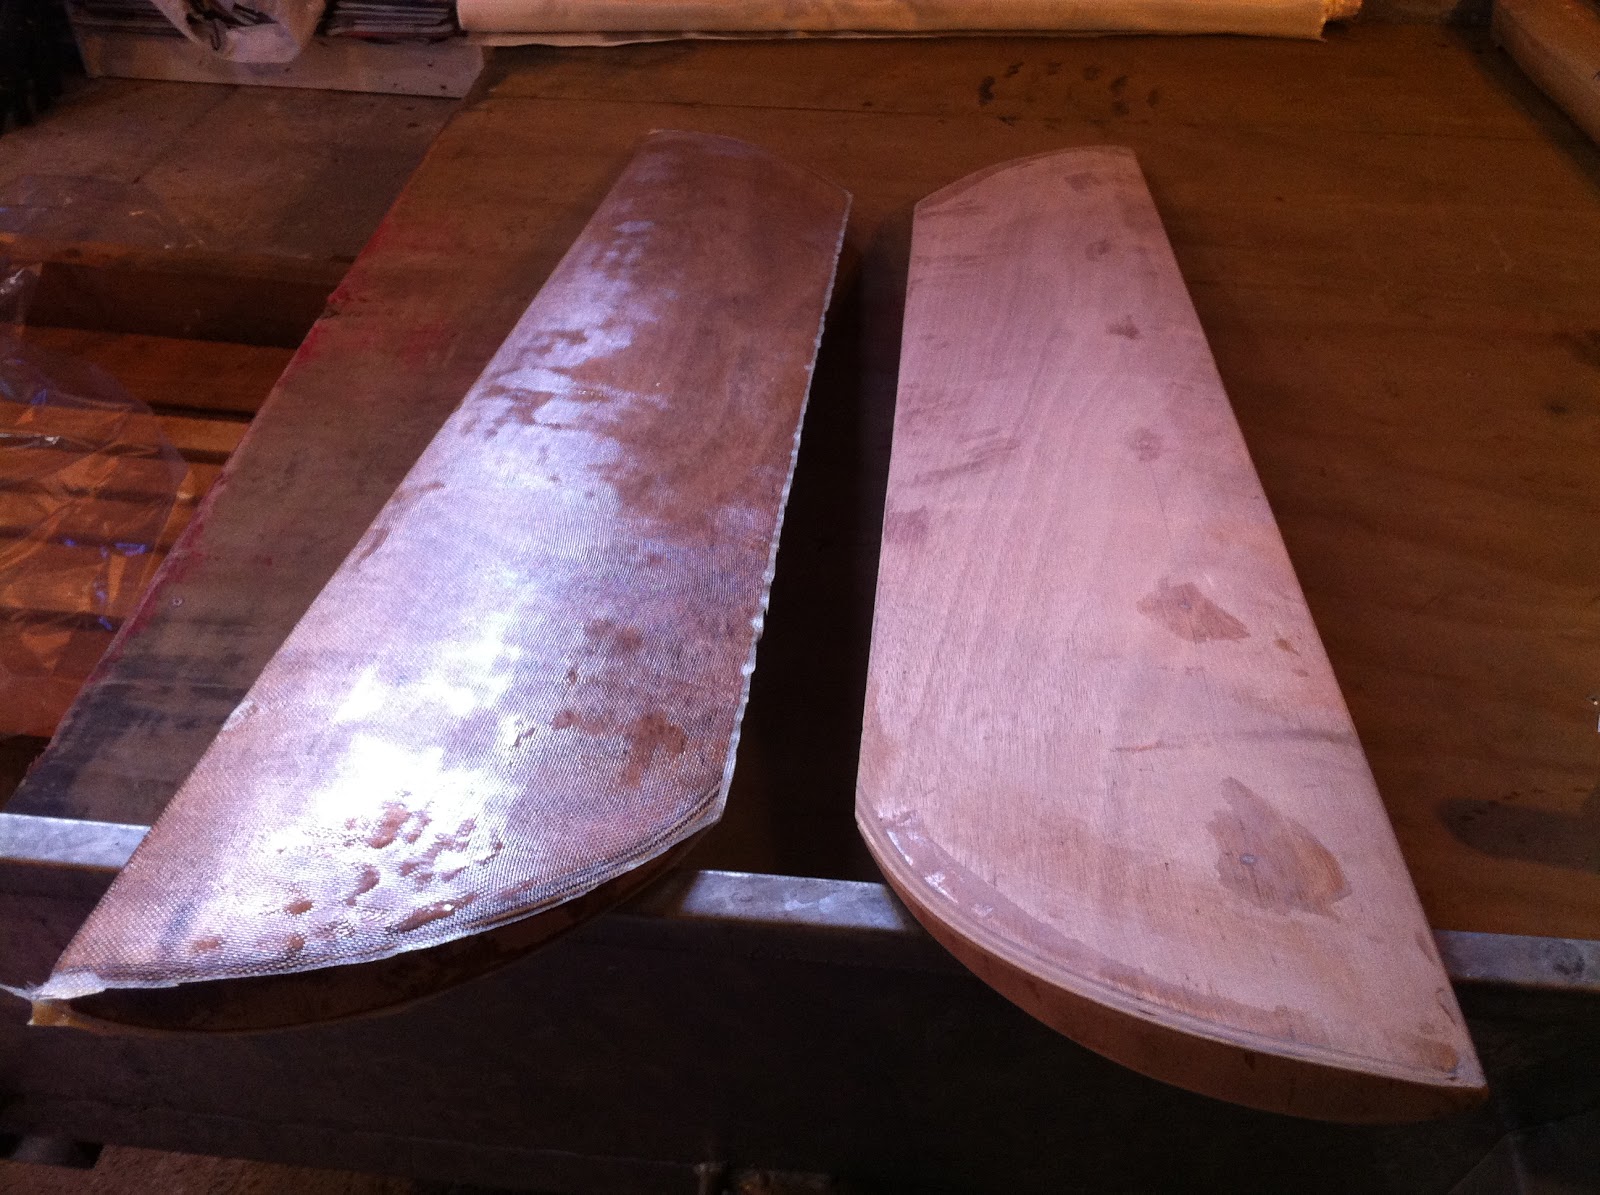
I covered the rudders with two layers of 200 gsm cloth. As with all the sheathing used for the boat the primary function is to protect the wood from impact damage.


One down, one to go.


This was the first time I have done any fibreglass work myself, I learned a few things, it is not as easy as it looks, using fast hardener means you have to hurry to get the mixed epoxy onto the cloth, not much fun worrying about stuffing it up after all the work that has gone into the rudders so far.

Next step is to trim excess cloth and cover the ends and fair/sand etc.


Friday, 29 July 2011

Rudders Part2

Still too cold for epoxy work. Just as well I still have wood work to do.
Once out of the jig the rudders need to be closed top and bottom and shaped at the edges. I marked out the radius' and cut with a jigsaw. It was nice to get the radius shape onto the rudders, they quickly resmbled the drawings I had spent so long pondering.

Here you can see one method I used for holding ply in place while the glue cures. Screwed at the top and bungied at the thin trailing edge.

Here are the two rudders with tops closed prior to shaping. I closed the bottom of the rudders with two 4mm pieces to give 8mm thickness, I also plan to add extra filler and glass on the bottom where grounding may occur.


Here is a rudder and the trusty shaping tool almost ready for final sanding before glassing begins.

Monday, 18 July 2011

Making Rudders

The rudders are clamped while the epoxy cures.

Layers of UD carbon are used to add strength. I like the light weight result of Bernd's rudder design, it is quite tricky to do though as once you start applying glue/resin the clock is ticking, the picture above is of the second rudder which I was more happy with. The first one took me 2 attempts to get right as the plywood did not bend as easily as expected.