Thursday, 16 February 2012
Monday, 13 February 2012
Stringers Part 2
I have been adding more stringers to the hull. Time has come to do the keel stringers, as mentioned by Bernd, cross cuts need to be made on one side of the stringers to assist the extra bend toward the stern.
Here you can see the cross cuts made in the keel stringers. I used a skill saw and adjusted the depth of cut on the saw, then clamped the stringers together, marked equal spacing then it was a fairly quick job to do identical cuts to both of them.
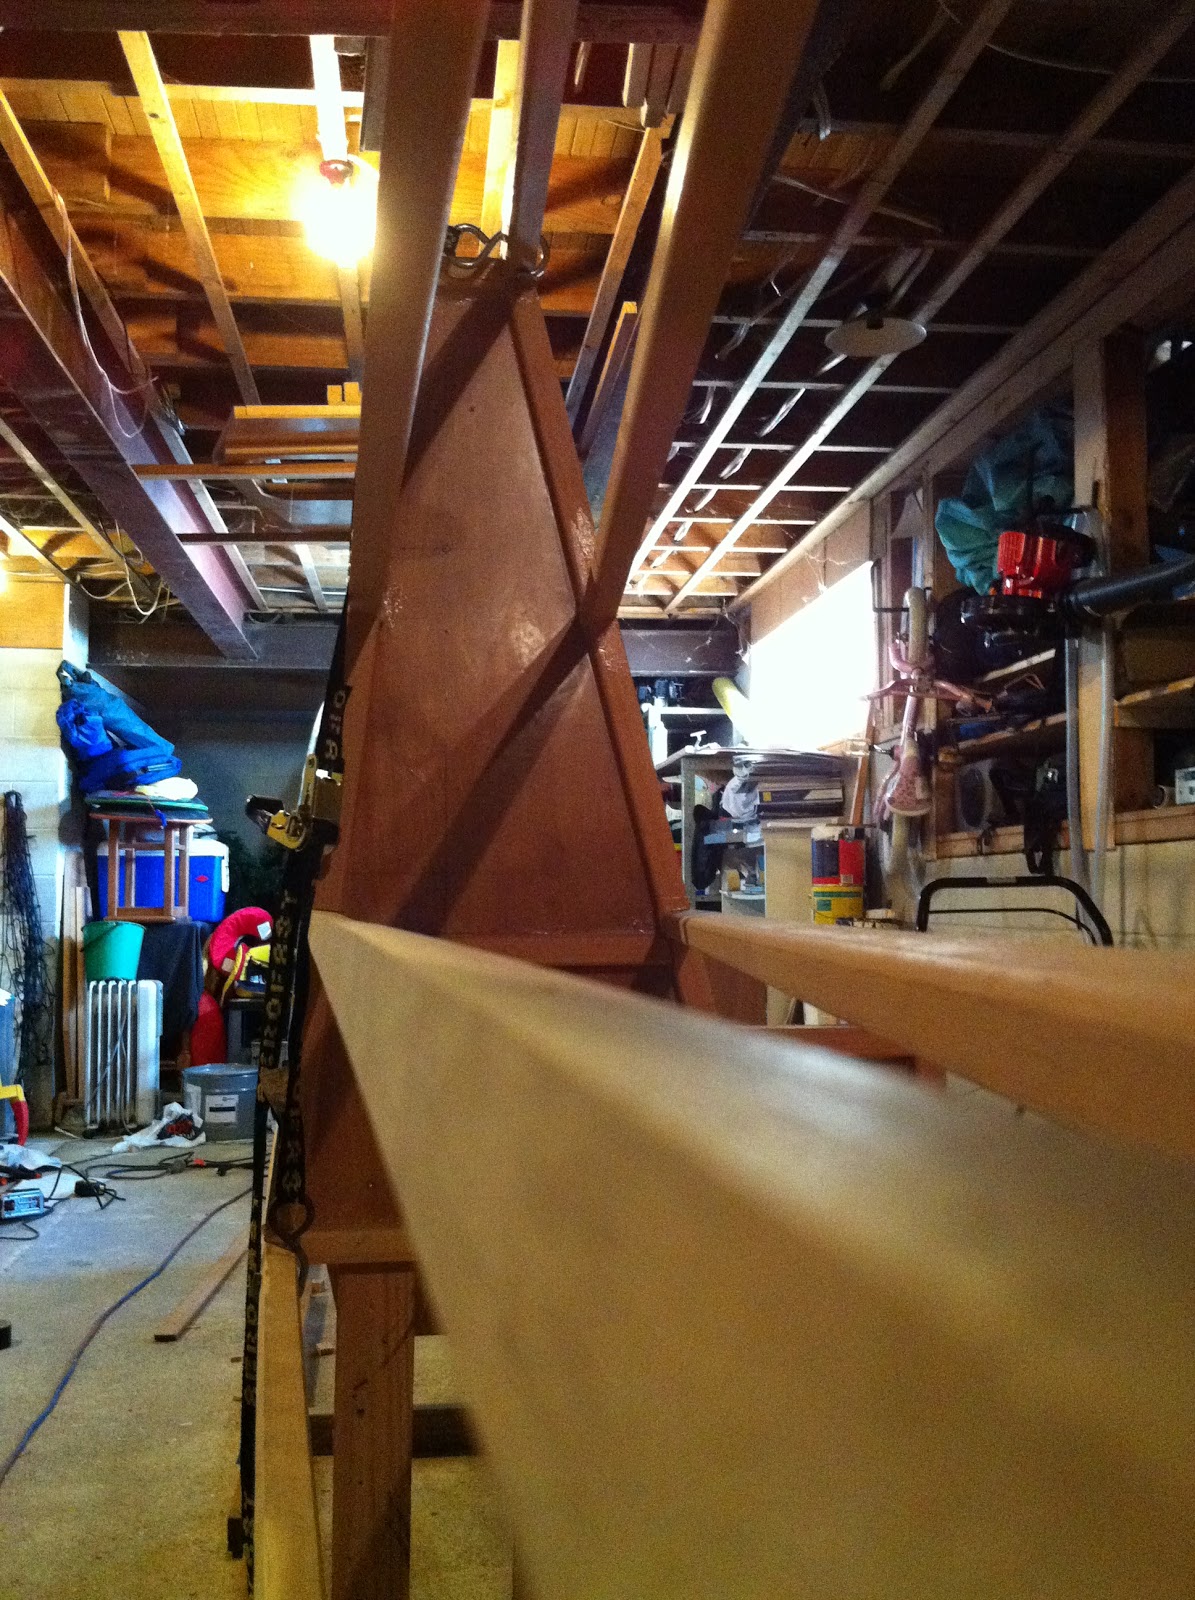
Here you can see the resulting mounted stringers. Glued in place with a little help from gravity.
I am starting to get used to having this big thing in my garage. Looking even more like a boat now.
Here you can see the cross cuts made in the keel stringers. I used a skill saw and adjusted the depth of cut on the saw, then clamped the stringers together, marked equal spacing then it was a fairly quick job to do identical cuts to both of them.
Here you can see the resulting mounted stringers. Glued in place with a little help from gravity.
Monday, 30 January 2012
First stringers on
With the bulkheads lined up it is time to put stringers on. Notches need to be cut in the bulkheads so the stringers pass through the edge. This part is extremely critical to the result of the hull as there is no going back once the glue has set so I need to be sure and check alignment throughout the process. Keeping alignment is tricky as the stringers try to force the bulkheads off centre as you put them on. In this case I put the outer stringer on first which pulled alignment out by a few mm. However then I put the inner opposing stringer on which perfectly countered this. It was a relief to check bulkhead alignment again after the glue had set to discover alignment was still perfect.
Here is the "multitool" I am using to cut out notches. It is great, it allows very precise cutting as you can cut slowly, kind of like a knife through butter. The downside is that is very loud. I made the decision to not put the notches in until the bulkheads were lined up so I could be sure I put them in the right place and with the laser level, the straight runs are exactly that.
Tuesday, 17 January 2012
It's this big
It is great at this stage to finally see something that kind of looks like a boat! (Well to me anyway)
Setting up the bulkheads has been the most rewarding part of the build so far. It was not without difficulty though as I started out by just trying to use the locating holes to line it up, but working by myself I soon discovered it was near impossible as I needed another pair of hands or eyes, so I gave up and bought a laser level which you can see on a tripod in the picture. Even with the laser, it was a long process.
Here you can see I am using the handy clamps again to hold a bulkhead in place while it is positioned to line up with the laser lines. I know the laser level will prove very useful as the build continues, already I have used it to check the stringer measurements I made earlier on the bulkheads, it is a great way of confirming measurements.
Tuesday, 10 January 2012
Setting up frames
With the bulkheads ready to go it is time to set them up.
Quite cool here to get a sense of the length and scale of the boat at this time.
Here is the floor of my garage with the base of the supports in place at the measured distances for the bulkheads.
Here I am experimenting with different size supports. As the hull is asymmetric it will be slightly off centre on the base.
Hopefully I will have the bulkheads set up soon.
Quite cool here to get a sense of the length and scale of the boat at this time.
Here is the floor of my garage with the base of the supports in place at the measured distances for the bulkheads.
Here I am experimenting with different size supports. As the hull is asymmetric it will be slightly off centre on the base.
Hopefully I will have the bulkheads set up soon.
Saturday, 31 December 2011
Bulkheads Finished
Bulkheads are now ready for setting up. There are a couple of places where portions of framing will have to wait until the alignment has been done as the locating holes end up covered by framing. This is the case for the stern and stem bulkheads.
Here is the complete set for the Port hull. The Starboard set has been put away for who knows how long as I only have room to build one hull at a time.
Tuesday, 20 December 2011
Handy Tools
In making the bulkheads I need to sand around the edge of the panels to give the glue a strong bond. Using a rotary Dremel type tool I was able to set an accurate distance from the edge by setting the sanding attachment a measured distance from the collar, which makes it very easy to get a straight edge which will line up with the framing.
Another handy tool which you probably did not realise was a boat building tool is.... a chilly bin (or Esky). Great for supporting bulkheads while glue sets.
Subscribe to:
Posts (Atom)