Monday, 30 April 2012

Inspection ports

I decided to put these in while access is easy.


I used this hole cutter which attaches to a drill. Then sanded the edge and applied epoxy. Once cured, I used marine sealant and screwed into place with stainless screws..
One port is in the forward bulkhead below the storage area and one is in the stern. Both areas serve as watertight bouyancy. With this boat, I want to be able to regularly inspect all areas.

Wednesday, 18 April 2012

Planking Prep

With most of the stringer fairing done, a few more jobs need to be done before planking begins. One of them is butt blocks for joining the panels. I will scarf the keel and inner wing but I have decided against scarfing the large side panels due to the size as I am building this all by myself so full length side panels would be too hard to manage. The butt blocks are made from the same 6mm Okume as the panels which I cut on the table saw which allowed me to quickly make a lot of them straight and identical in width.
I used a router to take the majority of wood out and also use a power file to tidy it up.


Then simply glue them in place. I will sand them as I go around the hull double checking everything is fair.

Saturday, 7 April 2012

Fairing Stringers

Now that the stringers are all on, they need to be faired so that the outer surfaces will line up with the planking, and give a good surface for glue adhesion. For this I am using a combination of electric planer and belt sander. Checking as I go with a steel rule.

Tuesday, 20 March 2012

Making a Plank

To make the bottom of the boat appear as one continuous piece of wood, scarf joints are needed. With the fairly narrow width of the bottom of the hull it makes it an easier job for my first attempt at scarfing plywood.


So here I have some 9mm Okume and I have marked out from the end of the plywood lines to indicate where to sand to to give a 12:1 ratio angle. On the bottom is some 12mm ply to stop the lower piece from bending at the edge. This stack is all sitting on a large wooden beam to raise it off the ground making it easier to work. Then using a belt sander I sand to give the two pieces a matching angle, this is basically the same method I used for the stringers.


Then I lined up the lengths of ply with the laser level, glued and clamped. The result was a perfectly straight plywood plank about 7 metres long.

Monday, 5 March 2012

Stringers all on

Now that the stringers are all on, the shape of the boat is clear. Before putting the stringers on I found it hard to visualise the inner wing toward the bow as it is fairly complex how the angles converge, but it ended up being quite straight forward in practise.


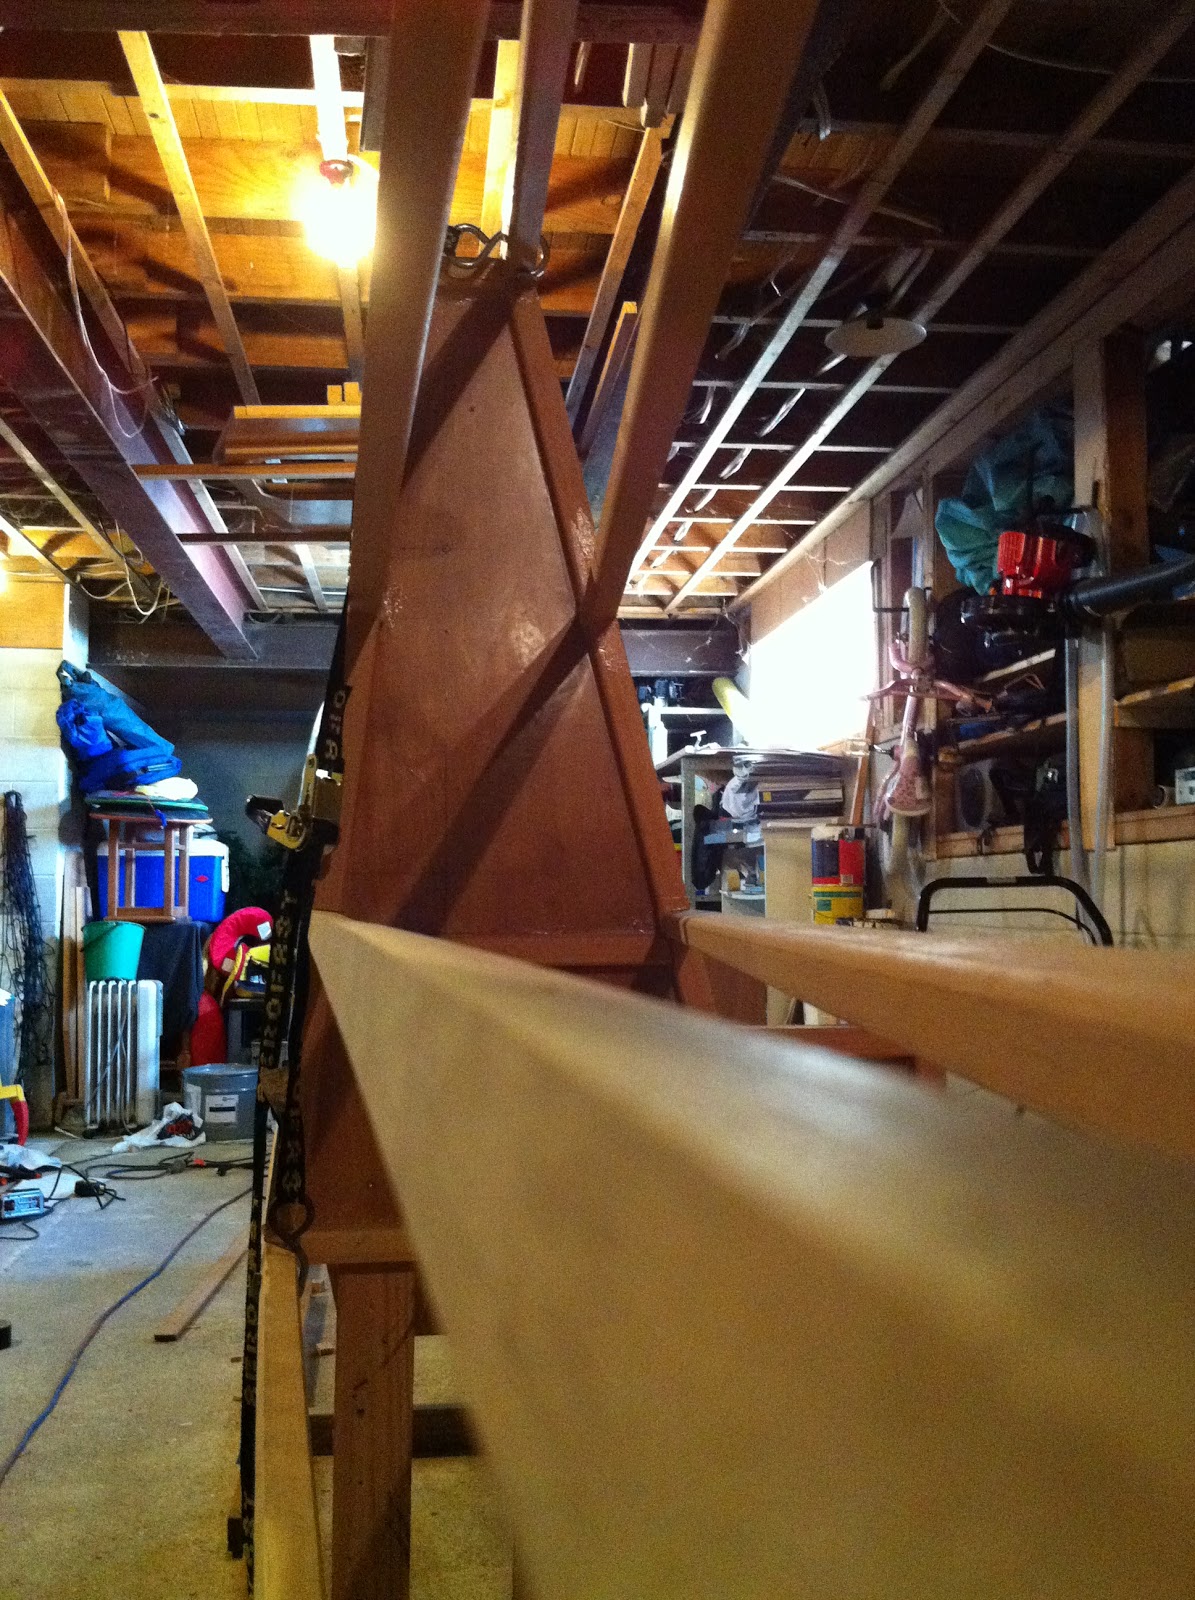
Other potential KD650 builders will find this photo interesting. Locating stringer X at the stern. Using the laser level and a steel rule, x marks the spot.

Monday, 13 February 2012

Stringers Part 2

I have been adding more stringers to the hull. Time has come to do the keel stringers, as mentioned by Bernd, cross cuts need to be made on one side of the stringers to assist the extra bend toward the stern.


Here you can see the cross cuts made in the keel stringers. I used a skill saw and adjusted the depth of cut on the saw, then clamped the stringers together, marked equal spacing then it was a fairly quick job to do identical cuts to both of them.

Here you can see the resulting mounted stringers. Glued in place with a little help from gravity.

I am starting to get used to having this big thing in my garage. Looking even more like a boat now.