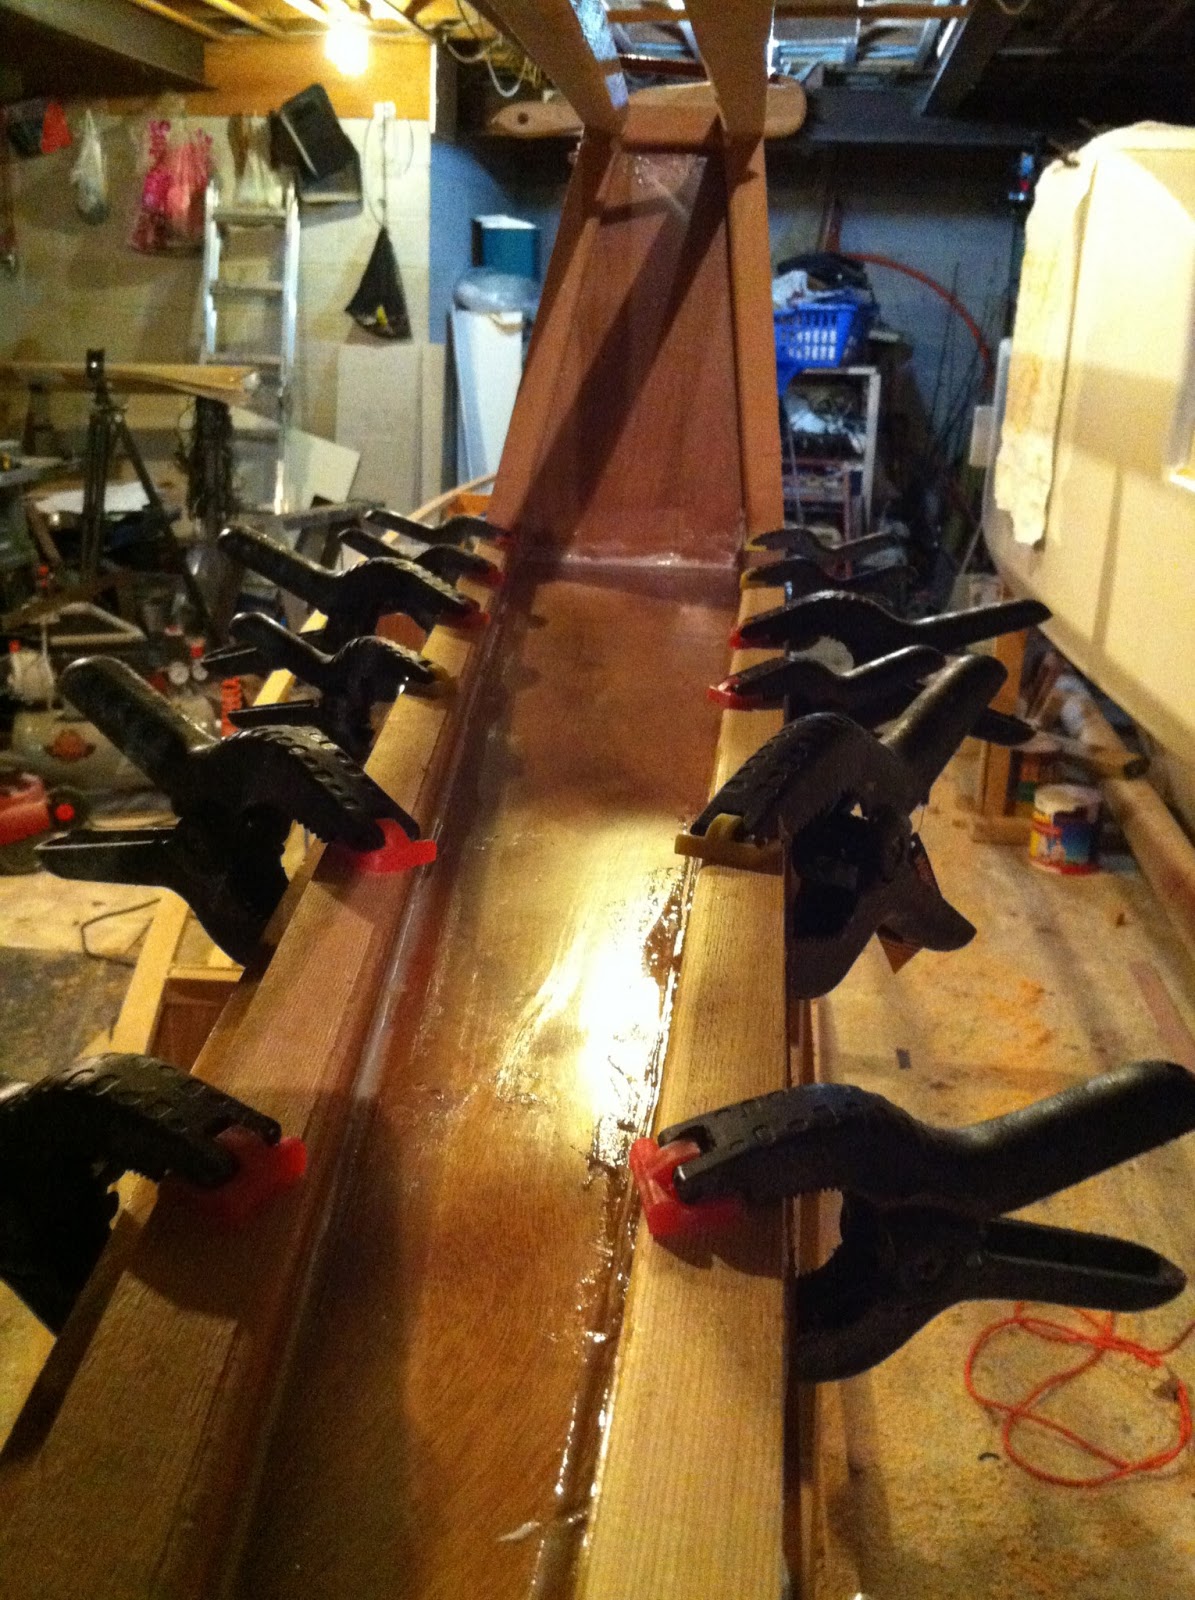
Slowly the second hull is taking shape.
Here are the latest pics showing one side (the easy side) done. It is a good thing I pre coated these plywood panels with epoxy back in summer, the weather has been very cold and damp lately.
The only thing I'm doing a bit different this time around is doing a more tidy job with the glue and also I am epoxy coating the stringers at this point also as it is easier to get to some of them and there is no dust collecting on them at this point which helps.
Saturday, 20 July 2013
Friday, 5 July 2013
Making a Hole
I would like to have a depth sounder on my boat, but where I could put one? Transom mount would be easiest but I expect the transoms would be out of the water some of the time especially at rest, a through hull would get squashed and be draggy, so I decided that in in-hull transducer would be best. However ultrasonic signals can't punch through wood, so what to do?... Drill a big hole!
It felt a bit wrong drilling a massive hole in the bottom of the boat but this small piece of the hull will be solid GRP so that the transducer signals can get through. This is another advantage of the flat bottom of the hull which makes this process quite easy.
Here is the first stage where I have wet out glass cloth on a piece of plastic film and pressed it against the inside.
Once cured I filled the hole with thickened epoxy.
Here is the finished result looking from inside the hull.
As you can see, light gets through. Hopefully the signals should get through also.
It felt a bit wrong drilling a massive hole in the bottom of the boat but this small piece of the hull will be solid GRP so that the transducer signals can get through. This is another advantage of the flat bottom of the hull which makes this process quite easy.
Here is the first stage where I have wet out glass cloth on a piece of plastic film and pressed it against the inside.
Once cured I filled the hole with thickened epoxy.
Here is the finished result looking from inside the hull.
As you can see, light gets through. Hopefully the signals should get through also.
Friday, 21 June 2013
First Starboard Plank
The bottom is on.
In this photo I have put the plank on to check for size and mark out where the glue will be going. You can also see here the cuts made in the stringer to get the tighter curve of the rocker at the stern.
As with all the plywood panel gluing I sand and recoat with epoxy where the glued surfaces are including the stringers. All plywood I use I have pre coated with epoxy on the interior side twice, with a light sanding between coats. I prepared quite a few sheets back in Summer when it was an easy job, which should get me through the winter.
Here the bottom is glued in place. Notice I have also installed the inspection ports already.
At this point I am ready to start fairing the stringers prior to putting the hull panels on.
In this photo I have put the plank on to check for size and mark out where the glue will be going. You can also see here the cuts made in the stringer to get the tighter curve of the rocker at the stern.
As with all the plywood panel gluing I sand and recoat with epoxy where the glued surfaces are including the stringers. All plywood I use I have pre coated with epoxy on the interior side twice, with a light sanding between coats. I prepared quite a few sheets back in Summer when it was an easy job, which should get me through the winter.
Here the bottom is glued in place. Notice I have also installed the inspection ports already.
At this point I am ready to start fairing the stringers prior to putting the hull panels on.
Thursday, 6 June 2013
Building efficiency
Now that I have started on the second hull I have come to realise that building the two hulls separately has not been such a bad thing after all. Not that I have made any big mistakes on the first hull, but I have developed more skill building the first one so I have learned how to do things more efficiently this time around and seeing what the finished hull looks like, I can see what parts of the construction are more important.
Anyway here is some more progress to report. Hopefully I can give some other insights this time around.
First stringer on here. This was chosen as it is the straightest stringer in the hull so has the least tendency to push the frames around (which is bad). The framing I set up for the bulkheads does not hold them in place very securely so need to balance these pushing forces as I go and keep using the laser level mounted above the hull, shining down the centre line. To keep it perfectly straight until all the stringers are on.
In the pic below you can see where a stringer joins to another one with a scarph type joint. It is this bow area which is very hard to visualise until you see it like this.
Here is a pic of the bow locker floor being glued in place. I did this the same way on hull 1 and it worked out well. Once the sides of the hull are on it is very time consuming to cut a panel to size, such as is the case with bunk panels. This way it is quick, as it is cut over size and faired when the stringers are faired.
Temperatures have got low again here so it is good to have the fibreglassing and painting done for now. This wood working and glueing is quite a nice change.
Anyway here is some more progress to report. Hopefully I can give some other insights this time around.
First stringer on here. This was chosen as it is the straightest stringer in the hull so has the least tendency to push the frames around (which is bad). The framing I set up for the bulkheads does not hold them in place very securely so need to balance these pushing forces as I go and keep using the laser level mounted above the hull, shining down the centre line. To keep it perfectly straight until all the stringers are on.
In the pic below you can see where a stringer joins to another one with a scarph type joint. It is this bow area which is very hard to visualise until you see it like this.
Here is a pic of the bow locker floor being glued in place. I did this the same way on hull 1 and it worked out well. Once the sides of the hull are on it is very time consuming to cut a panel to size, such as is the case with bunk panels. This way it is quick, as it is cut over size and faired when the stringers are faired.
Temperatures have got low again here so it is good to have the fibreglassing and painting done for now. This wood working and glueing is quite a nice change.
Friday, 24 May 2013
Let's do that again
Time for some Deja vu.
It was good to dust off the second set of bulkheads which I made about 18 months ago. And clear some space to set them up.
In this pic you can see I had to shift the base just a little bit to give me enough room to work beside the finished hull.
Then it was a case of "How did I do this last time?". Oh yeah. That's right.
Laser level and being careful, measuring twice and all that.
It is a nice feeling to be working on the second half of the boat. :)
It was good to dust off the second set of bulkheads which I made about 18 months ago. And clear some space to set them up.
In this pic you can see I had to shift the base just a little bit to give me enough room to work beside the finished hull.
Then it was a case of "How did I do this last time?". Oh yeah. That's right.
Laser level and being careful, measuring twice and all that.
It is a nice feeling to be working on the second half of the boat. :)
Saturday, 11 May 2013
Rudder Housings
While I still have some room in the garage I decided to make a start on the rudder housings.
The first stage is to use each rudder as a mold for creating the sleeve of the housing out of fibreglass.
In this picture you can see the first one still wet with many layers of cloth and epoxy wrapped around it.
Once cured the sleeves are removed from the mold and cut to shape.
That is part 1 done. Next step for these will be the addition of some ply and carbon fibre.
The first stage is to use each rudder as a mold for creating the sleeve of the housing out of fibreglass.
In this picture you can see the first one still wet with many layers of cloth and epoxy wrapped around it.
Once cured the sleeves are removed from the mold and cut to shape.
That is part 1 done. Next step for these will be the addition of some ply and carbon fibre.
Saturday, 27 April 2013
Hull 1 done
Well, done enough, for now.
When I started building I was not sure where I would put the first hull while I built the second one, I thought I might have to keep it outside. Recently I realised I had just enough room in my garage to store it in there while I build hull 2 which also meant I could get away with not completely finishing it with regards to fittings, windows, hatches etc. So I have moved it aside to set up for the starboard hull.
I managed to do the move by myself with a little help from a skateboard and some tie downs.
It was quite easy to shift it around, but I took my time. I was worried about it falling over.
Using a tie down here to stop it falling over while the wing support was removed.
And here it is in it's new spot. While it waits for it's twin. :)
When I started building I was not sure where I would put the first hull while I built the second one, I thought I might have to keep it outside. Recently I realised I had just enough room in my garage to store it in there while I build hull 2 which also meant I could get away with not completely finishing it with regards to fittings, windows, hatches etc. So I have moved it aside to set up for the starboard hull.
I managed to do the move by myself with a little help from a skateboard and some tie downs.
It was quite easy to shift it around, but I took my time. I was worried about it falling over.
Using a tie down here to stop it falling over while the wing support was removed.
And here it is in it's new spot. While it waits for it's twin. :)
Subscribe to:
Posts (Atom)