
Anyway here is some more progress to report. Hopefully I can give some other insights this time around.
First stringer on here. This was chosen as it is the straightest stringer in the hull so has the least tendency to push the frames around (which is bad). The framing I set up for the bulkheads does not hold them in place very securely so need to balance these pushing forces as I go and keep using the laser level mounted above the hull, shining down the centre line. To keep it perfectly straight until all the stringers are on.

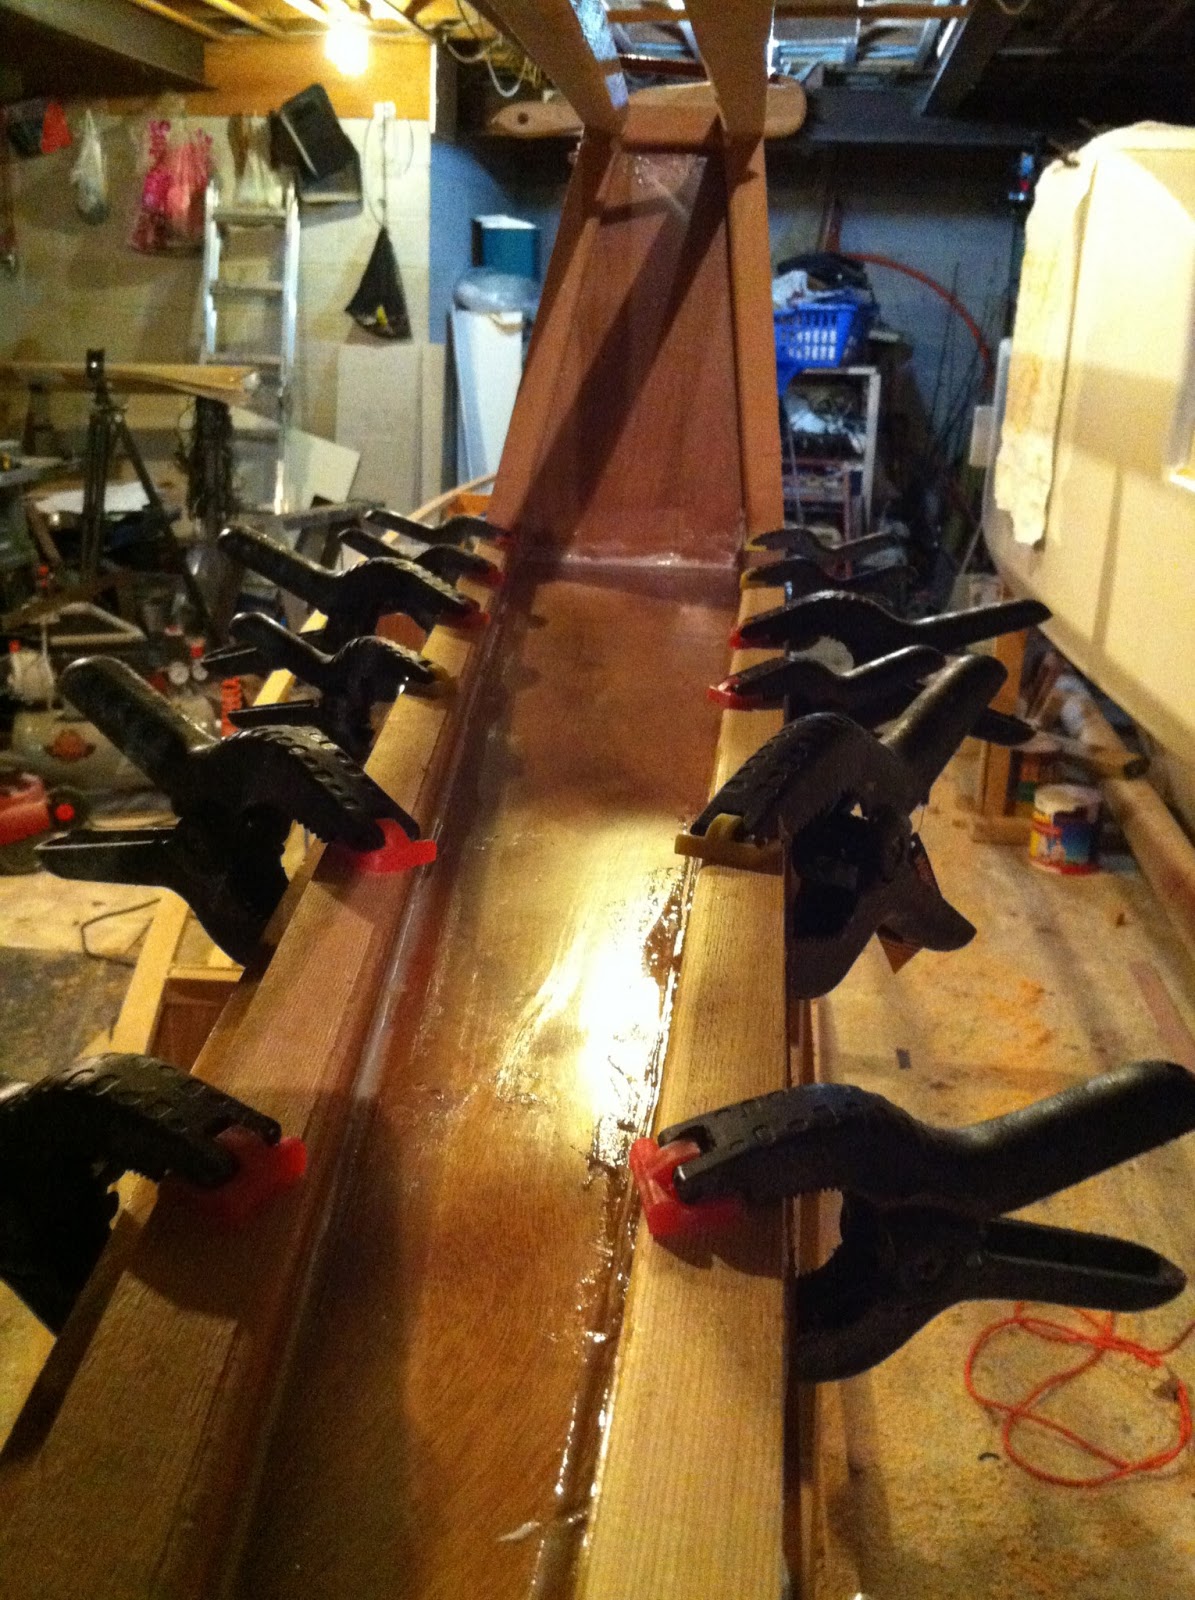
In the pic below you can see where a stringer joins to another one with a scarph type joint. It is this bow area which is very hard to visualise until you see it like this.

Here is a pic of the bow locker floor being glued in place. I did this the same way on hull 1 and it worked out well. Once the sides of the hull are on it is very time consuming to cut a panel to size, such as is the case with bunk panels. This way it is quick, as it is cut over size and faired when the stringers are faired.
Temperatures have got low again here so it is good to have the fibreglassing and painting done for now. This wood working and glueing is quite a nice change.
go Rodney
ReplyDeleteyou may be able to apply to the Guiness Book of Records for the fastest build of a second catamaran hull. Looks great.
I'm stuck in that category you mentioned as being glad to be out of: painting!!
keep up the good work
cheers
Bryan
Thanks Bryan. Yeah I reckon I could do this seriously fast if I could do it full time, like as in a hull in a few weeks. (minus painting of course, lol) :)
DeleteHi Rodney
ReplyDeleteThanks for the pictures and specially for sharing the tipps in the build. This will help others (and me) a lot on their own boats. Very good idea, glueing the floors at this stage of the build.
Do you have any idea about the final weight of hull no. 1?
greetings
Hardy
Hi Hardy.
DeleteYou are welcome.
I tried to weigh it when I shifted it using the bathroom scales again at 2 points so not so accurate but the weight I got was about 148Kg. Which is about what I expected. Hopefully the completed boat will still be close to the designed empty weight of 340Kg.
Cheers.